

Nowadays, more and more people prefer to save, store their photos online or share with their loved ones and followers on social media. As interesting and as beautiful as this may seem, there is a downside to it.
Unfortunately, with the rise of the internet, you can't control the way your intellectual property can spread. So your photos are always at risk of being used by third parties without your permission. This is probably something any artist or anyone would like to avoid.
It would be best if you had a way to add your signature (in this case, a logo) to protect your images online from theft.
Use a logo/watermark to protect your photos
Because it's easy for anyone to copy any of your images online and use it however they see fit, applying a logo/watermark is one of the soundproof ways to avoid this. A strategically placed logo will make it difficult for anyone to your original image for commercial purposes and also discourage them from using your images for personal purposes.
Adding a logo to your image on text2photo
Do you need a logo to use as a watermark, or you just want to edit your image?
You can do that on our online photo editing app.
All you need do is follow these simples steps, and you are good to go.
These steps are:
- Upload your photo, collage or design to the online editor
- Select and drag a text box to the desired location
- Modify the text to your taste (change the font, color, size, background color or transparency)
- Preview and download your artistic masterpiece for free
Below is a breakdown of the steps
Step 1. Upload image
Go to text2photo.com homepage and drag your image on the site, or upload an image. Allow the image to process, so as to bring out the design interface
Step 2. Edit
Add Text
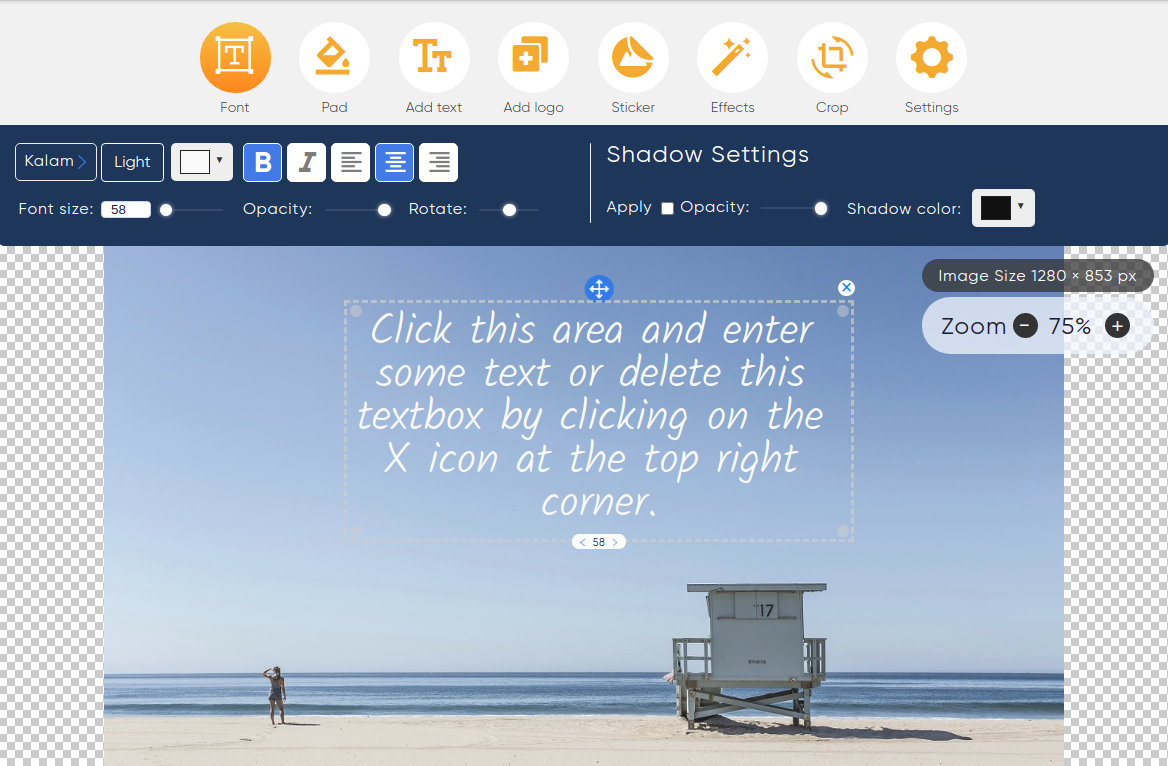
Click on Font to enter text, change the font size, alignment, font color, shadow, and rotate. You can click on the add text to create another text placeholder. (You can skip entering text if you don't want any text in your logo.)
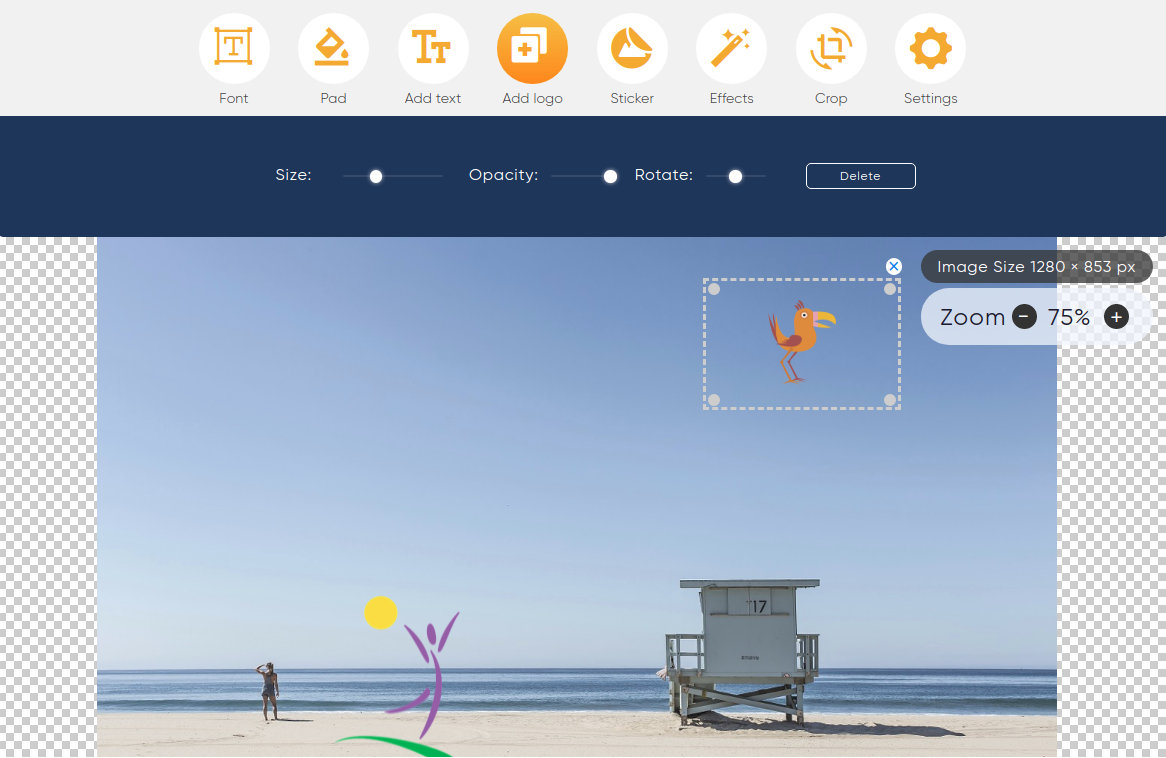
Add Logo
The moment you click on Add Logo, a pop-up window opens so you can upload any previously saved logo. You can resize it, add opacity, or even rotate it.
Note: Remember that your logo is used to embed an image, so it is best to make use of a logo with transparent background.
Step 3. Modifications
Make some modifications according to your need. For example, you can add some icons or shapes by clicking on Stickers, add effects by clicking on Effects and cropping the image by clicking on Crop.
Step 4: Settings
Click on Settings, and specify the width and height of your newly created masterpiece. Leave the Constrain proportions checked to automatically select the appropriate width or height.
Note: If you select a background color, it will override your selected background image, but you can always upload the background image.
Step 5. Download
Click the Download button, select the checkbox to accept the terms of service and privacy policy, and click on Download (1920x1079 [this is the dimension you selected in settings])px to download it to your computer.
Bottom Line
Text2photo is for editing and adding your logo to a photo. We hope this simple guide helps you get off to a good start.
Try Text2photo.com to create amazing effects and easily apply them to your images.